Are your interior doors not fitting properly? Don’t worry, we’ve got you covered! In this comprehensive guide, we’ll show you step-by-step how to adjust interior doors to achieve a perfect fit. Whether you’re dealing with sticking doors, gaps, or alignment issues, our expert tips and techniques will help you resolve the problem with ease.
With our guidance, you’ll be able to identify the specific issue you’re facing, gather the necessary tools and materials, and make the adjustments needed to ensure your doors are functioning flawlessly. Say goodbye to sticking doors, unsightly gaps, and misalignment. Let’s get started on achieving that perfect fit!
Identifying the Issue
Before you can start adjusting your interior doors, it’s important to identify the specific issue you’re facing. Understanding the root cause will help you determine the appropriate adjustments to make. Here are the most common problems you may encounter:
Sticking Doors
Sticking doors can be a common annoyance. They are doors that don’t open or close smoothly, often requiring excessive force to operate. This issue can be caused by various factors such as humidity, paint buildup, or an improperly fitted door. Identifying where the door sticks will allow you to make targeted adjustments to resolve the problem.
Gaps between the Door and the Frame
Gaps between the door and the frame can compromise both the aesthetics and functionality of your interior doors. These gaps can be caused by factors like settling of the house, temperature changes, or incorrect installation. Accurately measuring the gaps and understanding the root cause will enable you to select the appropriate adjustments.
Misalignment
Misalignment occurs when your door is not properly aligned with the frame, resulting in an uneven appearance or difficulty in opening and closing the door. Common causes for misalignment include loose hinges, settling of the house, or improper installation. Assessing the degree of misalignment will help you determine the necessary adjustments to realign the door.
Identifying the specific issue with your interior door is crucial to effectively address the problem. By understanding whether you are dealing with sticking doors, gaps, or alignment issues, you can take the right steps to achieve a perfect fit.
| Issue | Cause | Adjustment |
|---|---|---|
| Sticking Doors | Humidity, paint buildup, improper fit | Identify sticking points and adjust accordingly |
| Gaps between the Door and the Frame | Settling of the house, temperature changes, incorrect installation | Measure gaps, determine cause, and apply appropriate adjustments |
| Misalignment | Loose hinges, settling of the house, improper installation | Assess degree of misalignment and realign the door |
Tools and Materials Needed
To adjust interior doors effectively and achieve a perfect fit, you’ll need a few essential tools and materials. Having the right equipment at hand will make the process smoother and ensure you get the desired results. Here’s a comprehensive list of what you’ll need:
- Measuring tape
- Screwdriver (flathead and Phillips)
- Hammer
- Chisel
- Wood shims
- Utility knife
- Pry bar
- Level
- Adjustable wrench
- Pencil
- Sanding block
- Paint or stain (if desired)
- Decorative hardware (if desired)
- Door adjustment tools (optional)
These tools and materials will enable you to address sticking doors, gaps, and misalignment issues effectively. Whether you’re a DIY enthusiast or a professional contractor, having these items readily available will ensure that you’re well-prepared to tackle any door adjustment task.
Having the right tools and materials is crucial when adjusting interior doors. In the next section, we’ll guide you through the process of adjusting sticking doors to achieve smooth operation.
Adjusting Sticking Doors
Dealing with sticking doors can be quite frustrating, but fear not! With the right adjustments, you can easily resolve this issue and ensure smooth operation. In this section, we’ll guide you through the process of identifying the areas where the door sticks and show you how to make the necessary adjustments.
“A sticking door can be a nuisance, affecting both the convenience and appearance of your living space. Don’t let it continue to be a source of frustration. By addressing the issue head-on, you can restore the functionality and aesthetics of your interior doors.”
The first step in adjusting sticking doors is to identify the specific areas where the door sticks. This requires some careful observation and testing. Check for any visible signs, such as scuffs or marks on the door or frame. Slowly open and close the door, paying close attention to the points where it resists movement or gets stuck.
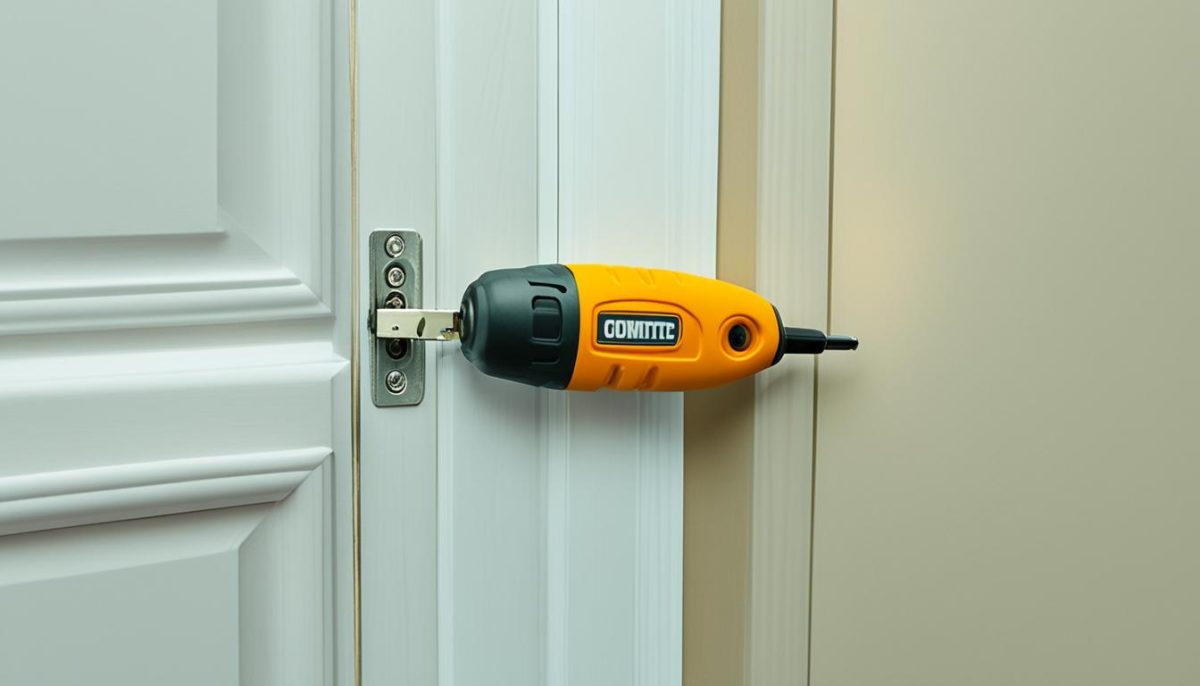
Once you have identified the sticking points, it’s time to make the necessary adjustments. The most common areas that require adjustment are hinges, strike plates, and the door itself.
1. Adjusting Hinges
In many cases, sticking doors can be attributed to misaligned hinges. To adjust the hinges:
- Use a screwdriver to loosen the screws on the top and bottom hinges.
- Gently lift or lower the door to align it properly.
- Tighten the screws back while holding the door in its aligned position.
- Test the door to ensure it opens and closes smoothly.
2. Modifying Strike Plates
If the door sticks at the latch side, you may need to adjust the strike plates:
- Loosen the screws securing the strike plate.
- Move the strike plate slightly in the direction required for proper alignment.
- Tighten the screws back once the strike plate is in the correct position.
- Test the door to ensure it no longer sticks at the latch side.
3. Sanding or Planing the Door
If the sticking issue persists after adjusting the hinges and strike plates, you may need to sand or plane the door:
- Remove the door from the hinges.
- Identify the areas where the door is rubbing against the frame.
- Use a sander or plane to carefully remove a small amount of material from the areas causing friction.
- Reattach the door and test its movement.
Remember, always make adjustments in small increments and test the door’s movement after each adjustment. This will help you achieve the optimal fit without causing further issues.
Adjusting sticking doors may require some trial and error, but with patience and the right techniques, you can achieve a smooth and effortless operation. Now that you know how to address sticking doors, let’s move on to correcting gaps in the next section.

| Hinge Adjustment | Strike Plate Modification | Sanding or Planing |
|---|---|---|
| Align the door by adjusting the hinges. | Properly position the strike plate to ensure smooth operation. | Remove excess material from the door to eliminate sticking points. |
| Requires a screwdriver. | Loosen and tighten screws. | Use a sander or plane. |
| Check for proper alignment. | Test the door after each adjustment. | Reattach the door and evaluate performance. |
Correcting Gaps
Gaps between the door and the frame can be unsightly and compromise privacy and energy efficiency. Properly addressing these gaps is crucial to achieving a seamless fit for your interior door. In this section, we’ll guide you through the process of measuring and correcting gaps effectively, so you can enjoy a door that not only looks great but also provides optimal functionality.
Techniques for Closing Gaps:
1. Adjusting the hinges: Start by examining the hinges on your door. If the gap is larger near the hinges, you might need to readjust them. Tighten loose screws or try shimming the hinges with cardboard or thin pieces of wood to even out the gap along the door.
2. Using weatherstripping: Weatherstripping is an effective method for closing small gaps around your interior door. Choose a weatherstripping material that matches your door’s style and apply it along the frame. This will help create a tighter seal, preventing drafts and reducing noise.
3. Installing a door sweep: If the gap is at the bottom of the door, installing a door sweep can provide a quick and easy solution. Door sweeps create a seal between the bottom of the door and the floor, preventing drafts and keeping out dust and insects.
Measuring and Assessing Gaps:
Before you can fix the gaps, it’s essential to accurately measure and assess the extent of the problem. Here’s how:
- Close the door and stand on the side where the gap is visible.
- Use a tape measure to measure the width of the gap at different points along the door and frame. This will help you identify any variations in the size of the gap.
- Inspect the gap for any signs of damage, such as warping or loose screws.
By taking these measurements and assessing the gaps, you can determine the best course of action to achieve a seamless fit for your interior door.
Using these techniques for correcting gaps, you can ensure that your interior doors not only enhance the aesthetics of your space but also provide improved privacy and energy efficiency. Don’t let those gaps dampen the overall look and functionality of your doors!
Aligning Misaligned Doors
If you have a misaligned interior door, it can negatively impact both its functionality and aesthetics. A misaligned door may stick, not close properly, or create unsightly gaps. To address this issue, follow these step-by-step instructions to align your door correctly with the frame.
Assessing the Degree of Misalignment
Before you begin aligning your door, it’s essential to assess the degree of misalignment. This will help you determine the appropriate adjustments needed to achieve a perfect fit. Here’s how:
- Close the door partially and observe the gaps around the frame.
- Check if the top, bottom, or sides of the door are unevenly spaced from the frame.
- Use a level tool to check if the door is tilted or slanting.
Once you have a clear understanding of the misalignment, you can proceed with the necessary adjustments.
Aligning the Door Correctly
To align a misaligned door, follow these steps:
- Loosen the screws on the hinges using a screwdriver.
- Slowly adjust the hinges vertically or horizontally to align the door with the frame.
- Check the alignment after each adjustment and tighten the screws once the door is properly aligned.
Additional Tips
Here are a few additional tips to ensure a successful door alignment:
- Make small adjustments to avoid overcorrecting or damaging the door or frame.
- Use shims or wedges to support the door temporarily while making adjustments to achieve a precise alignment.
- If the misalignment is severe or persists after adjustments, consider consulting a professional carpenter or door expert for assistance.
By following these instructions and taking your time, you’ll be able to align your misaligned interior door and restore its functionality and visual appeal.
| Step | Action |
|---|---|
| 1 | Close the door partially and observe the gaps around the frame. |
| 2 | Check if the top, bottom, or sides of the door are unevenly spaced from the frame. |
| 3 | Use a level tool to check if the door is tilted or slanting. |
| 4 | Loosen the screws on the hinges using a screwdriver. |
| 5 | Slowly adjust the hinges vertically or horizontally to align the door with the frame. |
| 6 | Check the alignment after each adjustment and tighten the screws once the door is properly aligned. |
Finishing Touches and Maintenance
Once you’ve adjusted your interior door to perfection, it’s time to add those finishing touches that will elevate its appearance and functionality. In this section, we’ll provide you with valuable tips on how to give your door a polished look through painting or staining, enhance its style with decorative hardware, and ensure proper maintenance to keep it in top shape for years to come.
Painting or Staining
Painting or staining your interior door can dramatically transform its overall look. Whether you prefer a classic, sleek white finish or a rich, natural wood grain, choosing the right paint or stain color is essential. Make sure to prepare the door surface properly by sanding and cleaning it before applying any paint or stain. Additionally, consider using a primer to ensure a smooth and durable finish. Follow the manufacturer’s instructions for drying times and apply multiple coats if necessary. Once you’ve achieved the desired color and finish, allow the door to dry completely before rehanging it.
Decorative Hardware
Installing decorative hardware is a great way to add a touch of style and personality to your interior door. From elegant handles and knobs to ornate hinges and backplates, there are countless options available to suit any aesthetic. Before purchasing new hardware, measure the existing holes to ensure a proper fit. If needed, use a template to mark the correct placement for the hardware. Once you’ve installed the new hardware, step back and admire how it enhances the overall look of your door.
Proper Maintenance
To keep your adjusted door in optimal condition, regular maintenance is essential. Here are some maintenance tips to prolong the lifespan of your interior door:
- Periodically inspect the door for any signs of damage, such as cracks or warping.
- Wipe down the door surface with a damp cloth to remove dust and dirt.
- Use a mild cleaning solution to remove any stains or marks.
- Check the hinges and latches for smooth operation and tighten any loose screws.
- Apply a protective coat of varnish or sealant to safeguard the door from moisture and wear.
By incorporating these maintenance practices into your routine, you can ensure that your adjusted interior door remains in excellent condition for years of reliable use.
Expert Tips and Tricks
As you embark on the journey of adjusting your interior doors, consider incorporating these expert tips and tricks to achieve exceptional results. With years of experience in the industry, professionals have shared insightful techniques to help you avoid common pitfalls and streamline the adjustment process.
Tip 1: Take it Slow and Steady
When it comes to adjusting interior doors, patience is key. Make small adjustments at a time, testing the door’s movement after each tweak. This allows you to fine-tune the fit without causing any further issues. Remember, it’s better to take your time and get it right than rush through the process and end up with a misaligned or sticking door.
Tip 2: Use Lubrication for Smooth Operation
If you’re dealing with a sticky door, applying lubrication can work wonders. Use a silicone-based spray or a powdered graphite lubricant on the hinges, knobs, and latch mechanism. This will reduce friction and enable the door to open and close effortlessly. Regular maintenance with lubrication can also prolong the lifespan of your adjusted door.
Tip 3: Consider Weather Conditions
Keep in mind that the weather can impact the fit of your interior doors. Wood tends to expand in humid conditions and contract in drier environments. Therefore, it’s essential to adjust your doors during average weather conditions to ensure a consistent fit. If you live in an area with extreme climate variations, you may need to readjust the doors seasonally.