Welcome to our comprehensive guide on how to build a door jamb for interior doors. Whether you’re a seasoned DIY enthusiast or just starting out, this step-by-step tutorial will equip you with the knowledge and skills to create a sturdy and functional door frame. A door jamb plays a crucial role in supporting the door, preventing drafts, and enhancing security. By understanding its importance and following our detailed instructions, you’ll be able to create a professional-quality door jamb that perfectly complements your interior doors.
Understanding the Importance of a Door Jamb
Before diving into the actual process of building a door jamb, it’s essential to understand its significance. A door jamb plays a crucial role in the functionality and security of interior doors. It provides structural support, prevents drafts, and enhances the overall security of your home. By ensuring a properly constructed and installed door jamb, you can enjoy a sturdy door frame that will stand the test of time.
A door jamb acts as a frame for the door, holding it securely in place. It creates a solid barrier between the interior and exterior of your home, keeping unwanted drafts, noise, and pests at bay. Additionally, a well-constructed door jamb minimizes the risk of the door sagging or warping over time, ensuring smooth operation and longevity.
Another important function of a door jamb is its role in enhancing security. A properly installed door jamb strengthens the overall integrity of the door, making it more difficult for intruders to force their way in. It provides a sturdy anchor for the door’s hinges, locks, and strike plate, creating a robust barrier against unauthorized access.
Building a door jamb is not only a practical necessity but also an opportunity to customize the look and style of your interior doors. By selecting the right materials, finishes, and design elements, you can create a seamless transition between rooms and enhance the overall aesthetic appeal of your living space.
Now that we have explored the importance of a door jamb, let’s delve into the step-by-step process of building one for your interior doors. But first, let’s take a moment to gather the necessary tools and materials to ensure a smooth construction process.
Materials and Tools for Building a Door Jamb
| Materials | Tools |
|---|---|
| Wood (pre-cut or raw) | Measuring tape |
| Screws | Miter saw or circular saw |
| Wood glue | Chisel |
| Nails | Hammer |
| Wood filler | Level |
| Sandpaper | Drill |
| Stain or paint | Screwdriver |
Now that we have gathered all the necessary tools and materials, let’s proceed to the step-by-step guide on building a door jamb for your interior doors.
Tools and Materials Needed
Before you can begin building your door jamb for interior doors, make sure you have all the necessary tools and materials. This comprehensive list will ensure that you are well-prepared and have everything at hand when you start the construction process.
Tools:
- Measuring tape
- Pencil
- Circular saw or miter saw
- Chisel
- Hammer
- Screwdriver
- Drill
- Level
- Clamps
- Safety goggles
- Protective gloves
Materials:
- 2×4 or 2×6 lumber – Choose wood that is suitable for interior door jambs, such as pine or poplar
- Wood screws
- Wood glue
- Wood shims
- Door hinges
- Door lockset
- Door trim
- Paint or stain (optional)
Having all the required tools and materials readily available will not only save you time but also ensure that the construction process goes smoothly. Now, let’s move on to the step-by-step guide of building a sturdy door jamb for your interior doors.

Step-by-Step Guide to Building a Door Jamb
Now that you have a clear understanding of the importance of a door jamb and have gathered all the tools and materials, it’s time to delve into the actual construction process. In this section, we will provide you with a step-by-step guide, accompanied by detailed instructions and illustrations, on how to build a door jamb for your interior doors. From measuring and cutting the wood to assembling the frame and attaching it to the wall, we will break down each stage to ensure your success.
1. Measure and Mark: Begin by measuring the height and width of your door opening. Use these measurements to mark the door jamb components accurately.
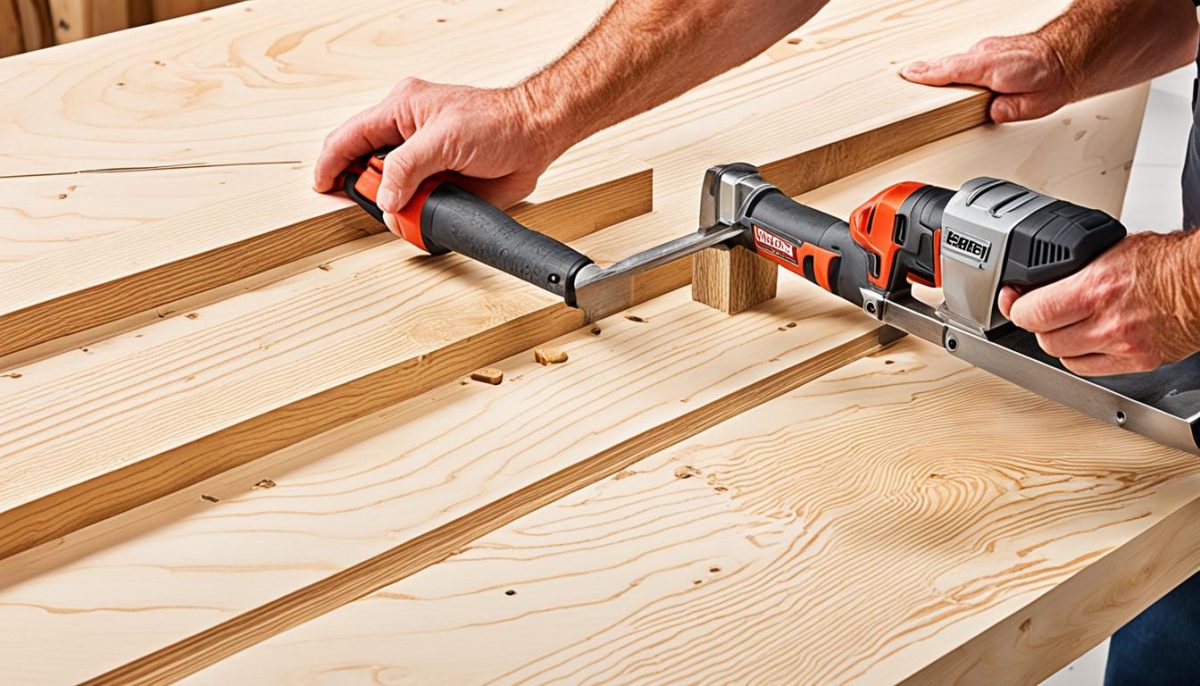
2. Cut the Woods: Using a saw, cut the door jamb components to the correct lengths according to your measurements. You will need two side jambs, one header jamb, and one threshold piece.
3. Assemble the Frame: Lay the side jambs vertically on the floor, ensuring they are plumb. Position the header jamb horizontally across the top and attach it to the side jambs using nails or screws. Finally, attach the threshold piece to the bottom of the side jambs.
4. Attach the Frame to the Wall: Place the assembled door jamb frame into the opening, ensuring it fits snugly. Use shims to level and plumb the frame if necessary. Secure the frame to the rough opening by driving nails or screws through the side jambs into the wall framing.
5. Install the Door: Hang your interior door onto the door jamb, following the manufacturer’s instructions. Ensure that the door swings open and closes smoothly.
6. Test and Adjust: Close the door and check for any gaps between the door and the door jamb. Adjust the strike plate, hinges, or door stops as needed to achieve proper alignment and a tight seal.
7. Finish and Seal: Sand the door jamb to smooth any rough edges and apply a finish or paint of your choice. Seal any gaps or cracks with caulk to enhance the door jamb’s appearance and prevent drafts.
Finishing Touches and Considerations
As you near the completion of your door jamb, there are a few finishing touches and considerations that can elevate the overall aesthetics and functionality.
Sanding, Staining, and Sealing
One crucial step in finishing your door jamb is sanding the surface to ensure a smooth and even finish. Use fine-grit sandpaper to remove any imperfections and create a polished look. Next, consider staining the door jamb to enhance its natural beauty and complement your interior decor. Choose a stain color that matches or complements the other elements in your space. Once you’ve achieved the desired color, seal the door jamb with a protective clear coat. This not only adds durability but also helps preserve the wood and prevent moisture damage.
Weatherstripping and Insulation
To maximize the energy efficiency of your interior doors, consider installing weatherstripping along the door jamb. Weatherstripping helps to seal gaps and minimize air infiltration, reducing drafts and improving insulation. Choose weatherstripping materials that are suitable for your door jamb and ensure proper installation to achieve optimal results.
Adding Decorative Elements
If you want to personalize your door jamb and add a touch of style to your interior doors, consider incorporating decorative elements. This could include decorative trim, moldings, or custom detailing. These additions can enhance the visual appeal of your door jamb and make a statement in your living spaces. Choose elements that complement your overall design scheme and create a cohesive look.
By implementing these finishing touches and considering additional factors, you can ensure that your door jamb not only functions flawlessly but also enhances the overall visual appeal of your interior doors.
| Finishing Touches and Considerations | Benefits |
|---|---|
| Sanding, Staining, and Sealing | – Creates a smooth and polished look – Enhances the natural beauty of the wood – Protects against moisture damage |
| Weatherstripping and Insulation | – Reduces drafts and air infiltration – Maximizes energy efficiency – Improves insulation |
| Adding Decorative Elements | – Personalizes the door jamb – Enhances visual appeal – Creates a unique design statement |
Final Steps and Maintenance
Congratulations on successfully building your door jamb for your interior doors! Now, let’s complete the installation process with a few final steps to ensure a seamless finish.
The next crucial step is hanging the door. Carefully position the door within the door frame, ensuring that it aligns perfectly with the jamb. Use hinge screws to secure the door to the jamb, making sure it swings smoothly and evenly.
Next, adjust the latch to ensure a tight fit. Check that the latch securely engages with the strike plate installed on the door jamb. Make any necessary adjustments using the provided screws to ensure that the door closes and locks smoothly without any resistance.
Lastly, to ensure the longevity and optimal functionality of your newly built door jamb, regular maintenance is essential. Periodically inspect the door jamb for any signs of wear or damage. If any issues are detected, promptly repair or replace the damaged parts to maintain the integrity of the jamb. Additionally, apply a protective sealant to the wood surface to enhance its durability and protect against moisture and pests.
By following these final steps and implementing regular maintenance, your door jamb will continue to deliver reliable performance for many years to come. Enjoy the benefits of your newly built door jamb and the enhanced security and aesthetics it brings to your interior doors.